Handicraft Instructions Bead Animal Charm
Your Cute Extra Portion of Luck: a Bead Animal Charm
Children sometimes need an extra portion of luck or courage. A little lucky charm for the first day at school, the day of the maths test or as a little present for the best friend can be a great thing.
You can customise these instructions wonderfully thanks to Schnullerkettenladen's large range of craft materials: In our example, a bead animal with a crochet bead body is the lucky charm's highlight. In this case, we are making a small bead animal bear. But of course you can also integrate other bead animals such as an owl, a mouse, a frog, a monkey, a panda or a fox into the charm.
In our example we use a crochet bead as the bead animal body. But note that it is easier if you use a regular bead body or triangular body shaped bead. If you do, you can skip step 4. If you decide to use a crochet bead, you will need a big needle to drill the holes for the legs into the crochet bead. For instance, you could use a sack needle or carpet needle.
Please note that making this kind of bead animal is quite tricky. We therefore recommend these handicraft instructions to experienced handicraft fans. If you want to make a baby happy and want to try out a simpler tutorial, you can, for example, make a pacifier chain with a name. But there are also many fantastic DIY instructions for children's accessories to discover. Have fun trying them!
Interesting questions and answers about the bead animal lucky charm in advance
Many people ask themselves: "What good is a lucky charm anyway?". A lucky charm may not be able to write the children’s maths test or protect them from mischief – but some children feel better and stronger with a talisman. Those who are now a little more self-confident with such an everyday companion can also cope with everyday life a little better.
The lucky charm you make with our craft instructions is basically just a pretty pendant. You can use it as a decorative, fashionable accessory without ascribing any affirmative meaning to it.
Video Instructions for Making a Bead Animal Charm
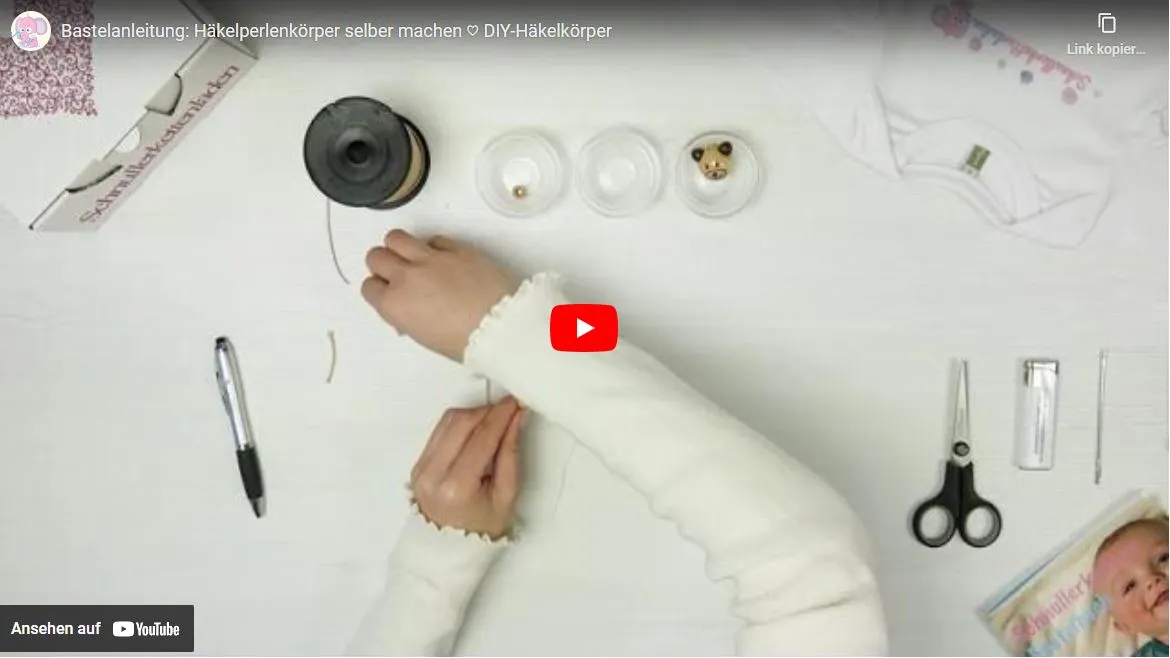
The handicraft material you need for making a bead animal charm:

The small tools you need:
 needle and thread
 large needle
 scissors
 lighter
Handicraft Material for Bead Animal Charms:


Step 1: Experimenting With Beads

When your handicraft material is laying in front of you, we can start! Arrange your bead animal charm's beads and the keyring.
Tip: We're using safety beads for the bead animal's legs so that the knots won't be visible. It is best to choose a cord colour that matches the legs. A 3D motif bead in an animal head shape looks particularly beautiful as a head.
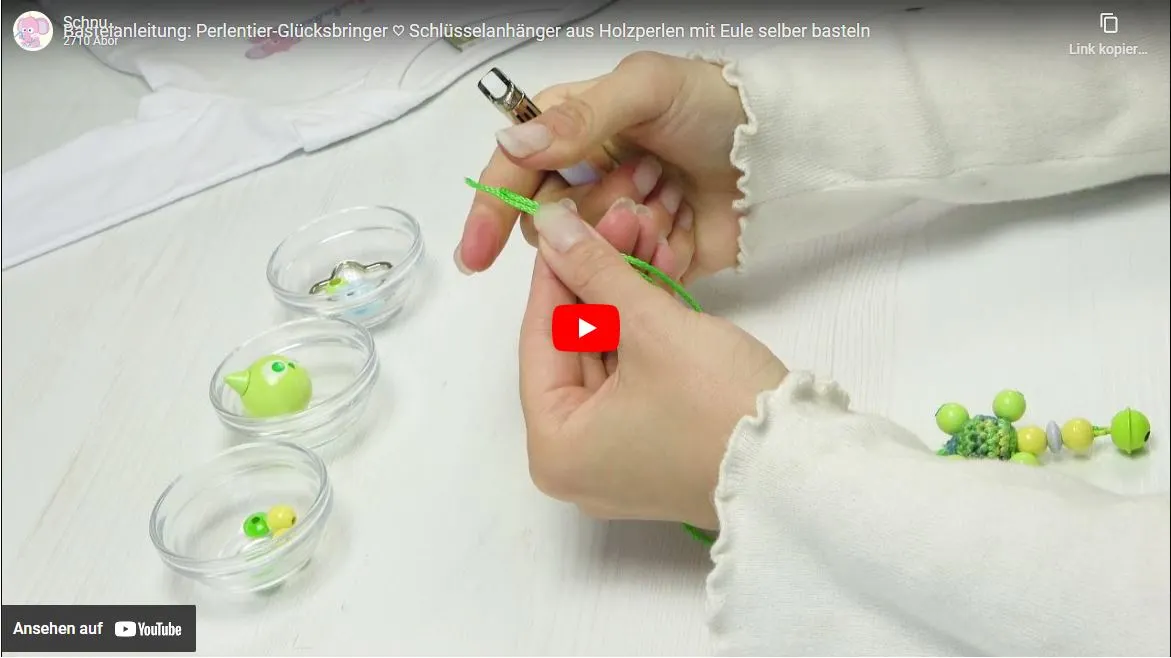
Step 2: Preparing the Stringing

We're starting with the trickiest part: making your bead animal's crochet bead body. First, double a piece of cord for front leg number 1 and hind leg number 1. Thread sewing thread into a sewing needle and tie the thread to the loop. This stringing aid makes stringing easier.
Step 3: Making the First Leg

For the first leg, string a safety bead with its larger opening pointing outward by using the sewing needle. Slide the safety bead until just before the cord's end. Make a double knot at the end of the string. Shorten the cord ends and weld the knot with a lighter. Pull the double knot into the safety bead.
Step 4: Making a Hole Through the Crochet Bead Body for Two Legs

With a big needle, drill a hole diagonally through the crochet bead and leave the big needle in there.
Both holes have to be where you want a front leg and a hind leg to be. They will be arranged diagonally opposite each other. We have used a so-called sack needle for drilling.
Step 5: Stringing the Cord for Two Legs Through the Crochet Bead

Simultaneously, pull the larger needle carefully out of the crochet bead while pushing the sewing needle with thread and cord right behind it through the hole.
By doing so, you're stringing the crochet bead onto the cord.
Step 6: Removing the Stringing Aid

Remove the sewing needle as well as the thread again.
Step 7: Making the Safety Bead's Second Simple Knot

Cut the loop open and make with the two resulting cord ends a simple knot close to the crochet bead. This knot will keep the second safety bead in place and will keep the cord tight.
Step 8: Preparing the Cord Ends for Stringing the Second Safety Bead

Lightly melt one of both cord ends with the lighter and press it with your fingers as flat as possible.
Also melt the other cord end with the lighter and weld it slightly offset underneath the other one. Press it on as flat as possible.
Step 9: Attaching the Second Safety Bead

Now string a second safety bead with its smaller opening first, using the stringing aid we've just created. This way, the larger opening will point outward.
Pull the previously welded cord ends apart again or cut them apart if necessary. Pull strongly on both cord ends until the safety bead slides over the simple knot.
Step 10: Finishing the Crochet Bead Body

Make a double knot as described in step 3, shorten the cord ends and weld the double knot with the lighter. Push the knot, if necessary with tweezers, into the safety bead's larger opening.
Now it gets a little easier, because you already know this step: Repeat steps 2 to 9 for legs number 3 and 4.
Step 11: Making the Bead Strand's End

We'll continue with the bead strand's end on which we will string our bead animal: Again, double a piece of cord. Melt the cord ends with the lighter and press them flat.
String a little bell on the bead strand's end. If you do not want to use a bell, you will have to make a knot. In this case an additional safety bead is recommended to hide the knot.
String more wooden beads.
Now let's string the crochet bead body. Because 1st we don't have a loop like when making a pacifier chain and 2nd the crochet bead's regular hole is quite narrow, we recommend the following procedure.
Drill through the hole with the large needle to widen it a little. Thread a piece of sewing thread into the needle. Pierce the needle with thread through one single cord end. Knot the sewing thread to the single cord end.
This way, pull both cord ends one after the other through the crochet bead. Our crochet beads are filled with cotton wool. Therefore stringing can sometimes be a little difficult despite the prepared hole.
Step 12: Stringing the Remaining Beads

Now string the remaining wooden beads, except for the last safety bead.
Step 13: Attaching the Keyring

Let's attach the keyring: Put the keyring down. Pull both cord ends simultaneously from top to bottom through the keyring.
Now take the cord ends one by one and put them back up again. Make a simple knot above the bead strand. The cord will be pulled around the keyring.
Step 14: Finishing the Bead Animal Charm

String a last safety bead. Make a double knot with both cord ends and shorten them. Weld the double knot with the lighter.
You're done! May the cute lucky charm with pearl animal bring a little joy into the everyday life of a child.
Important Notes for Using Bead Animal Charms
For the children's safety, it is important to be cautious rather than indulgent when in doubt. Therefore, please note the following information regarding the use of your self-made bead animal charm:
Advantages of Using a Bead Animal Charm
These handicraft instructions' result has the potential to make a lot of kids happy. Because sometimes children can use mental support. A self-made bead animal lucky charm is perfect for this, as such a talisman symbolises good wishes for its wearer.
Moreover, such a bead animal is simply cute. Why don't you choose your protégé's favourite colours and favourite animal? You can either give the bead animal pendant as a small personalised gift to children – or you can make your child's new, animal bead companion together with the kid. Either way, we wish you lots of fun with while crafting!


